On this Page
What is a Workbook?
Creating a Workbook
- Log in to Wobo and click " + New Workbook" on the dashboard.
- Check out the templates for some inspiration on how to use the various section types if you're new to Wobo by hovering over the template and clicking “Preview”.
- When you’re ready to start editing, either Build your Own or select a template: hover over the option you’d like and click “Select”.
- Give your workbook a name in the pop-up that appears.

Digital Marketing Masterclass or Comedy Basics - Spring 2023Customize your Workbook
- In the Global Styles tab, you can choose the theme colors and fonts for your workbook. Enter the color codes or choose from the visual designer tools.
- Customize the workbook cover page by entering your workbook title and subtitle, and choosing where the logo and titles appear. Note that you upload your logo file from the Global Styles tab along the top of the screen.
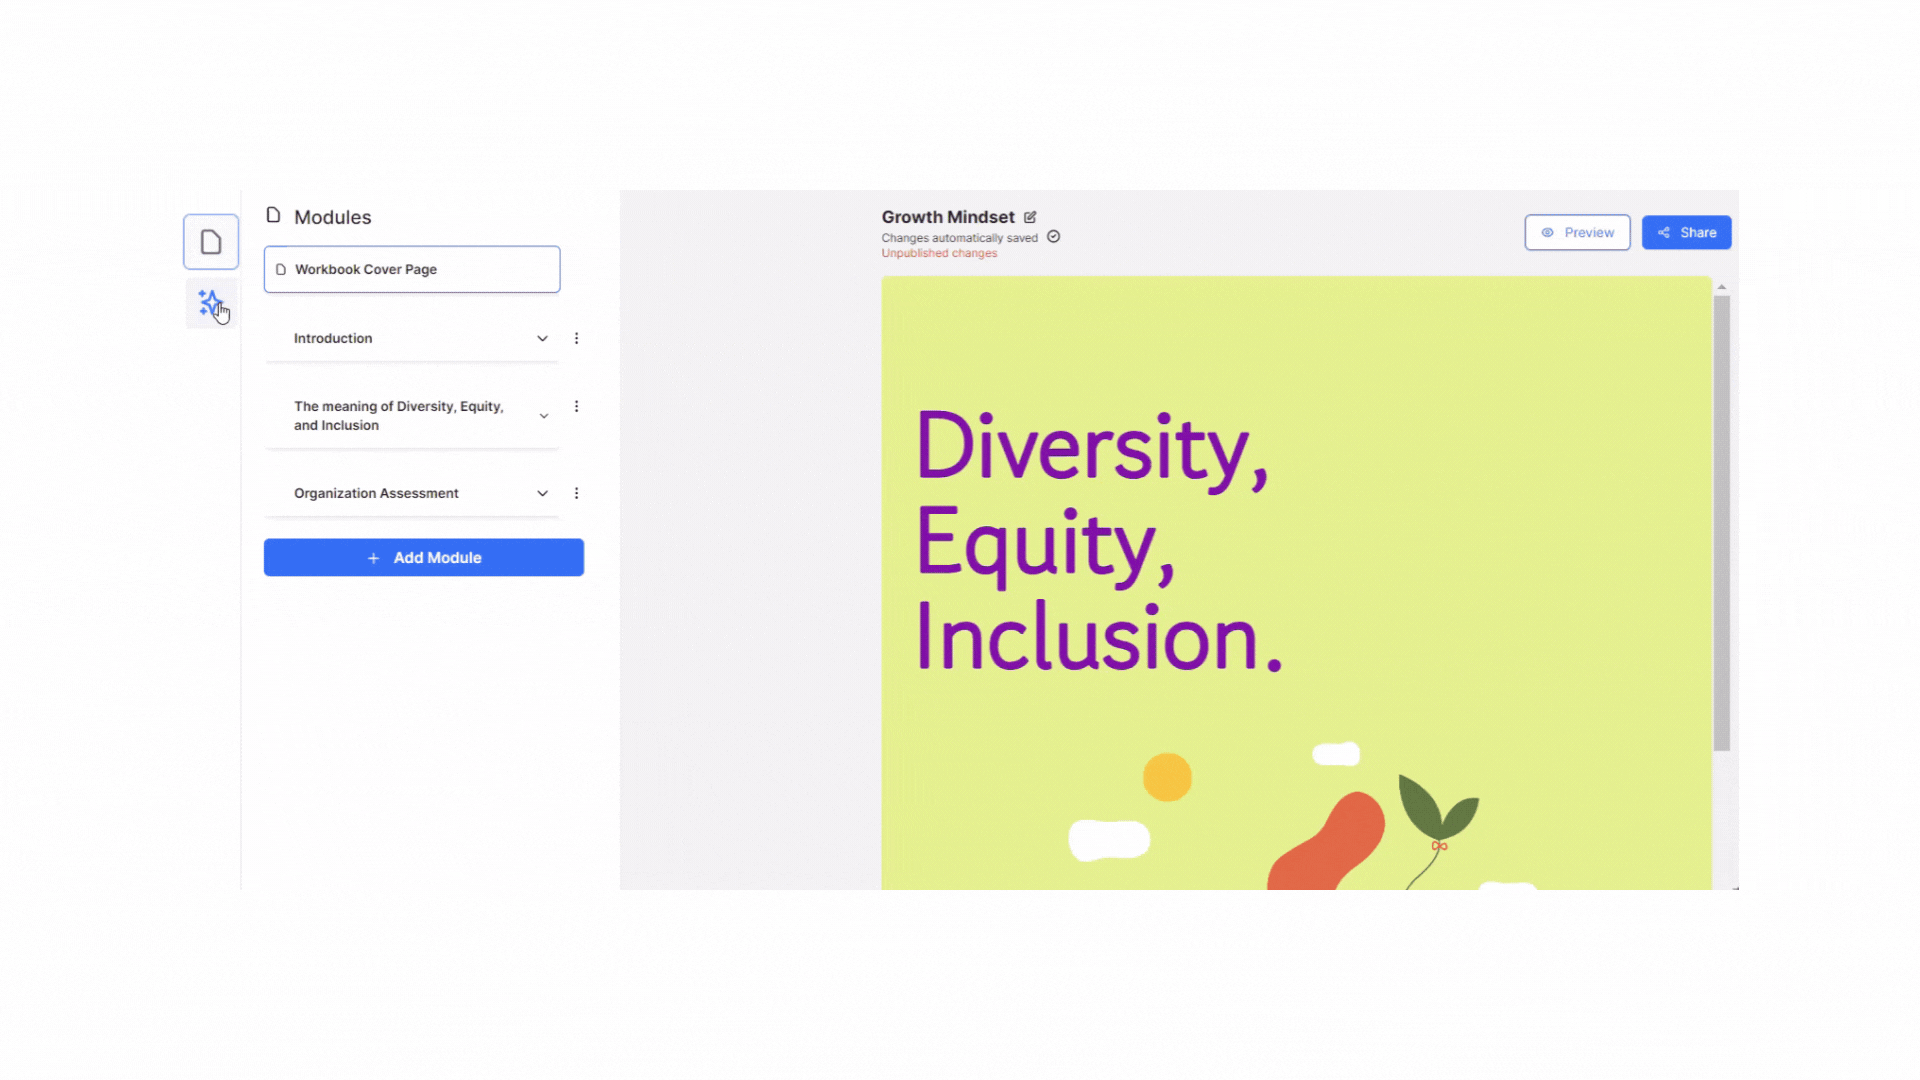
What is a Module?
Adding and Editing Modules
When you create a workbook from scratch, your first module will already be set up for you.
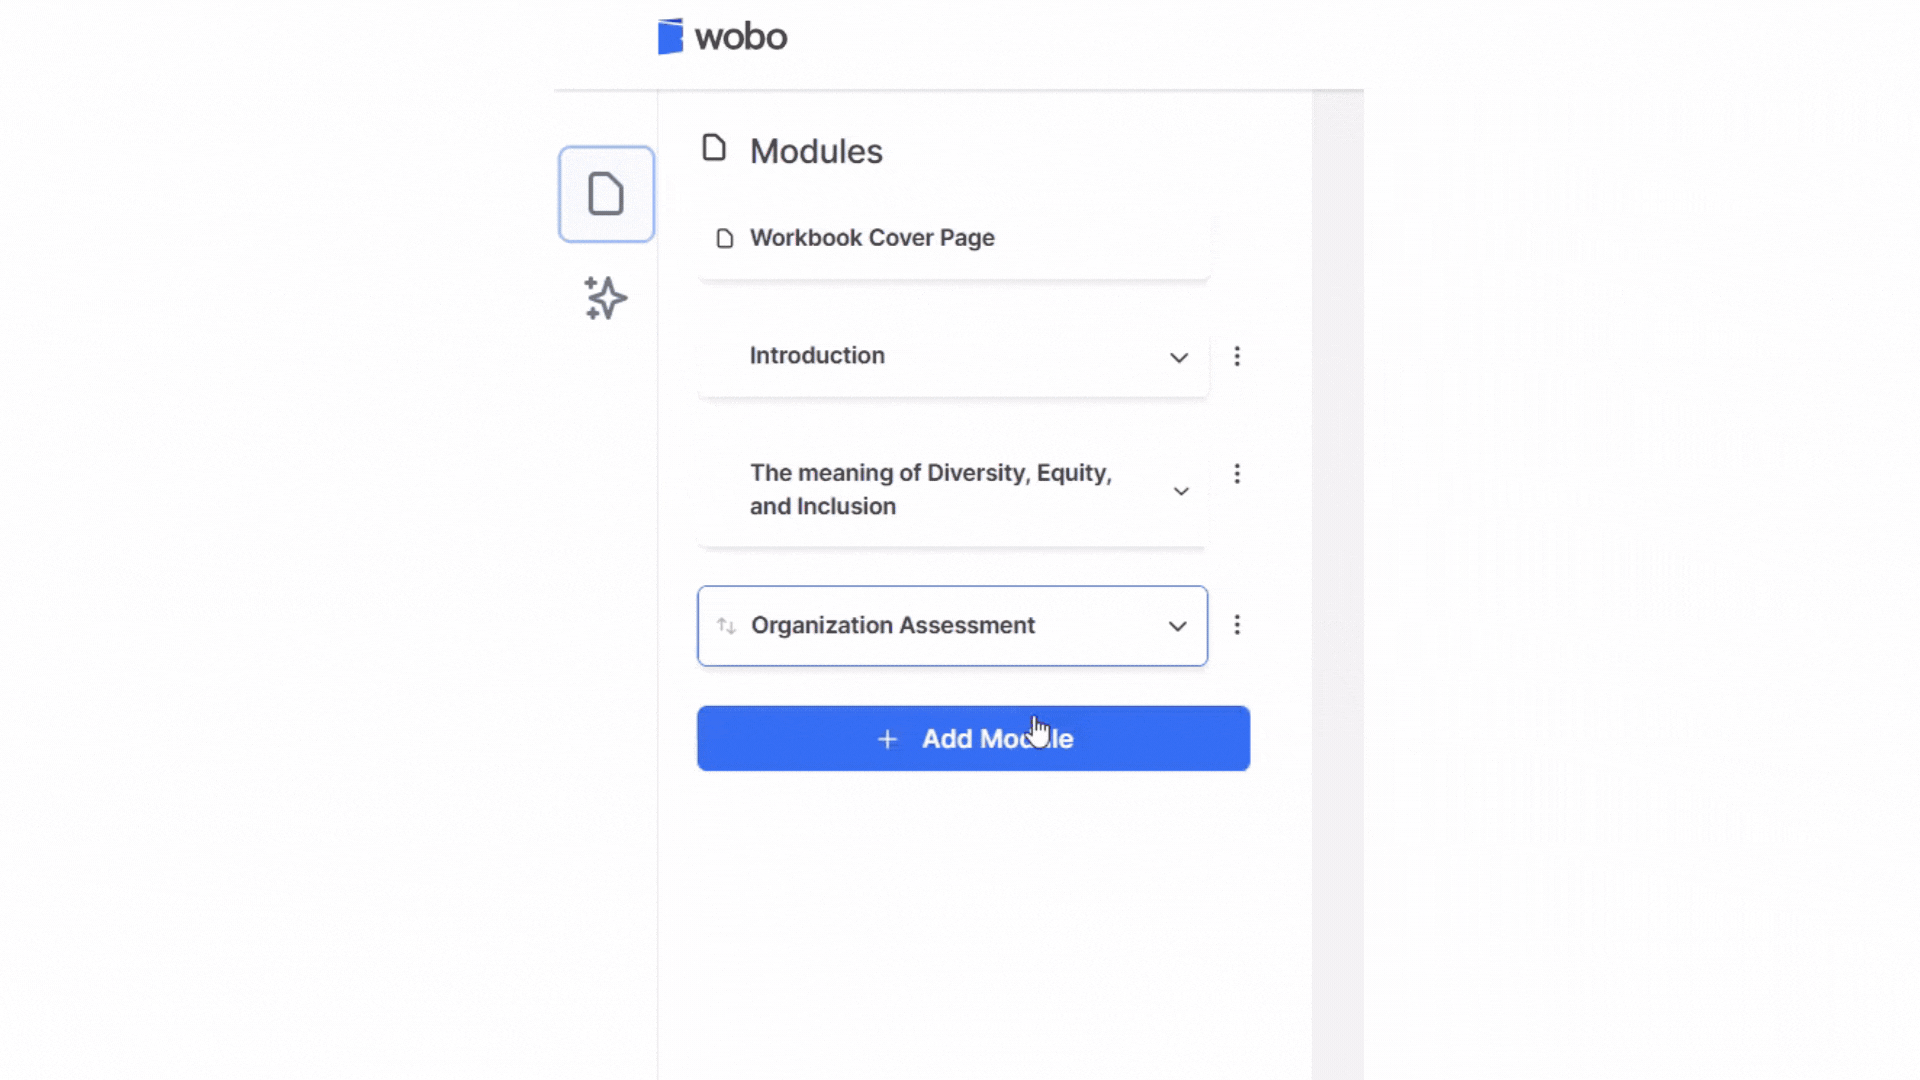
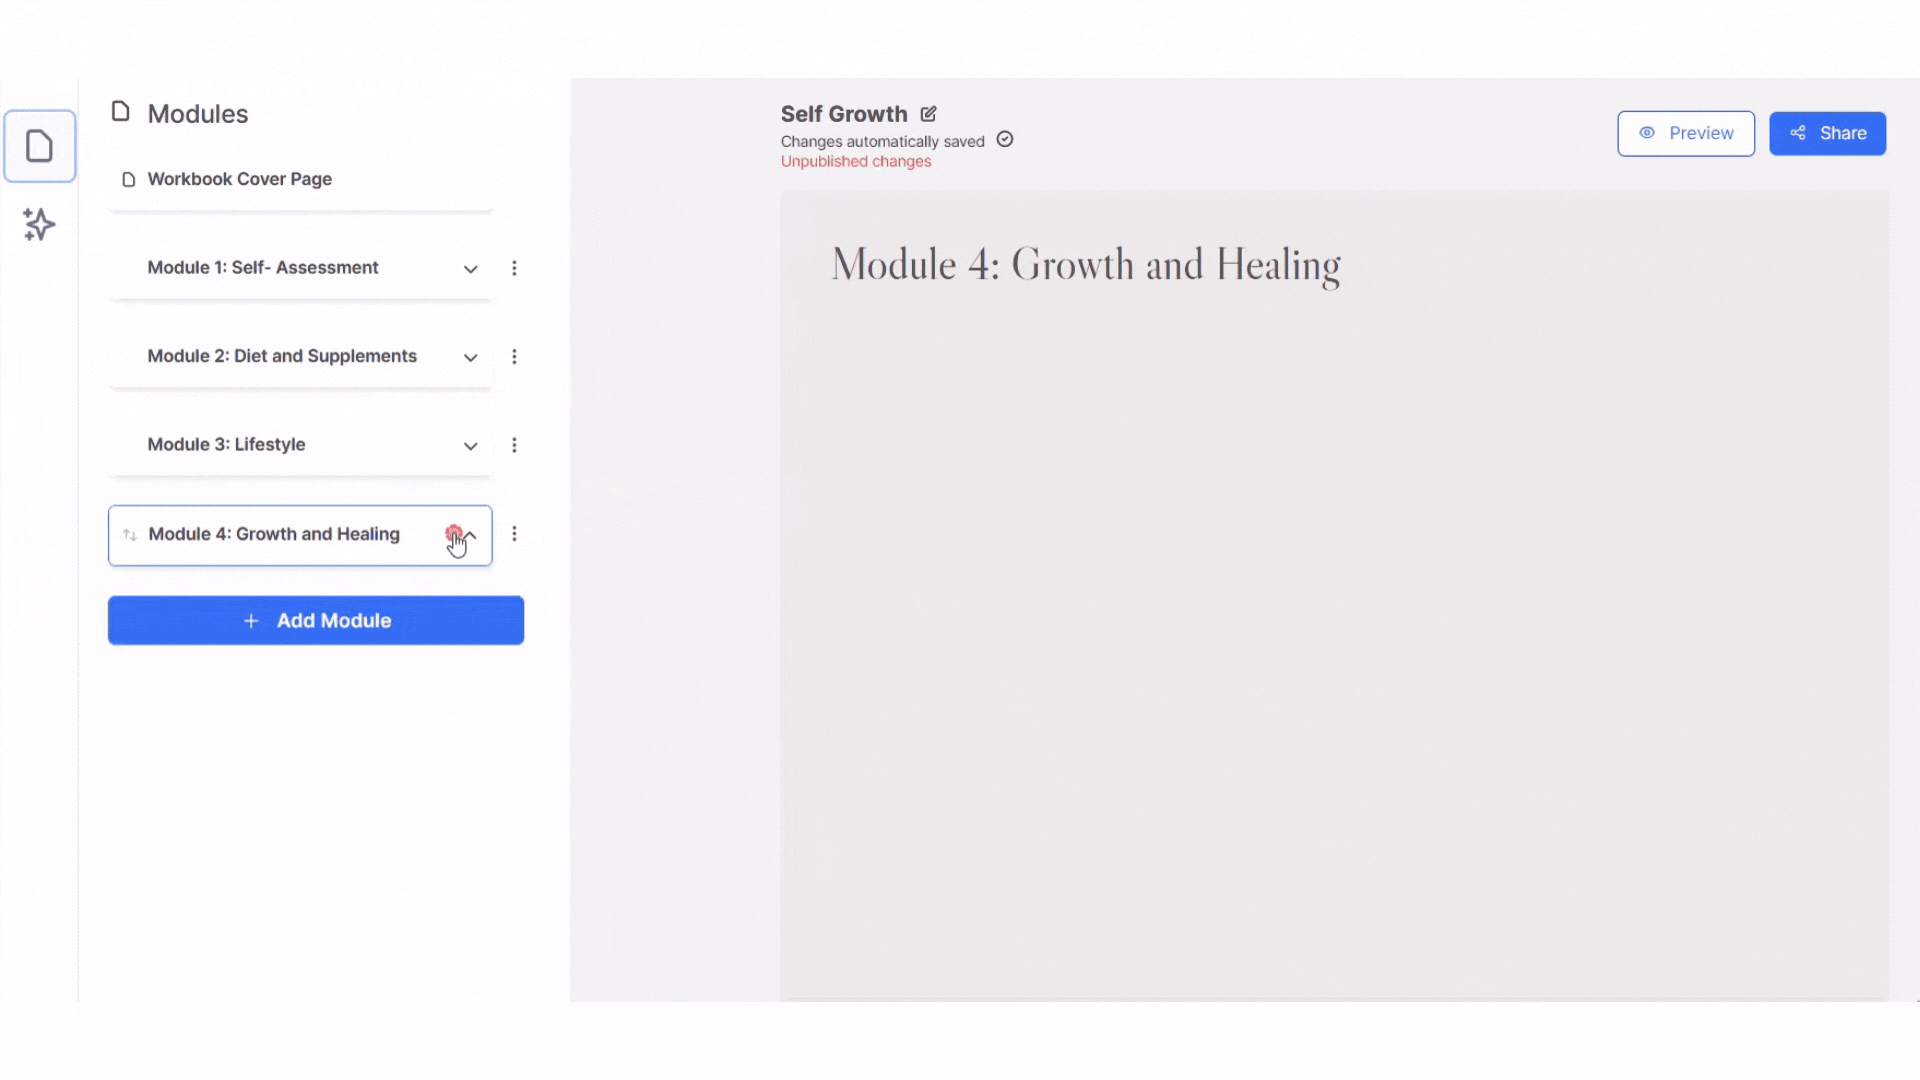
Open the module by clicking the down arrow, and rename it using the edit icon beside the module name. Modules can be created by copying existing ones (click the ⋮ menu and Duplicate Module) or by clicking Add Module at the bottom left of your screen.
What is a Section?
There are many types of sections you can add:
Content
- Module Cover Page: Design a cover page for each module's content.
- Image: Upload an image, diagram, infographic, or other content that will show within the workbook.
- Text: A simple text area that doesn't require a student response. Use this to give context on a diagram, add a table of contents, or reiterate key takeaways from a lesson.
- Link: Provide a link to an external resource or tool.
- Embed Video: Embed a video from YouTube, Vimeo or Loom by pasting in the video’s share link. Customize the title and description of video.
- PDF Page Break: Insert a page break in the PDF version of the workbook.
- Student Image Upload: Prompt students to upload an image that will be displayed in the workbook. Customize the title, description and size of the image.
- Student File Upload: Prompt students to upload a file to their workbook. Customize the title, description and size of the file.
- Module Download Link: Insert a button to allow students to download only the current module.
- Workbook Download Link: Insert a link to allow students to download the workbook.
Response
- Question and Answer: Ask a question or provide a prompt and allow students to respond and take notes.
- Notes Area: An area for students to take notes or respond to an image, diagram, table, or link.
- Table: Create a table that either allows student input, like filling out a list of goals, or not, like providing definition for key terms.
- Radio Buttons: Provide a question and allow only one response from a list you provide. You can allow “other” as a response, which allows students to type a custom answer.
- Checkboxes: Provide a question and allow one or more responses from a list you provide. You can allow “other” as a response, which allows students to type a custom answer.
- Drop-down list: Allows you to provide a question and a set of pre-defined responses from which your students can select one. Only the selected answer appears in the PDF copy.
- Fill in the blanks: Create an interactive exercise where students enter short responses to complete a phrase.
- Slider: Choose a higher and lower limit and allow students to slide along a scale to select a value.
Adding and Editing Sections
- Sections are added within workbook modules. From the dashboard, edit the workbook you'd like to update.
- To add a new section, click "Add Section" at the bottom of the left menu within a module.
- Choose the section type you'd like to add, and the left menu will be updated with the editing options for that section. Edit the section on the left and preview your changes in the preview on the right.

Sidebar Visibility Control
The left navigation panel of your workbooks can be fully controlled by you whether you wish to:
- Show or hide the full left navigation sidebar for end users: Settings > Sidebar Visibility > On/Off

- Show or hide at the Module Level for end users:
- If you turned on the sidebar visibility, you can control module visibility by dropdown menu (⋮) on the module > hide all sections
- This does not mean the hidden module content is inaccessible. It is only hiding the module’s sections visibility in the left sidebar only.

Below is the preview of each features!
Sharing your Workbook with Students
Preview your Workbook
At any time during building, you can click Preview in the top right of the screen to view your workbook as your students would see it in the standalone version. Controls on the middle right of the screen allow you to switch between desktop and mobile view.

Share your Workbook
When you’re ready to share your workbook with students, click “Share” in parallel to the preview option. There are two steps:
- First, enter the workbook details. If this course is run in cohorts, you can enter the cohort name in the field, eg. Spring 2023. In this dialog box, you will also choose if this workbook should have start and end dates, or run continuously.
- Next, choose how you will share your workbook with students. If you’re embedding in Thinkific, install the app and get going! If you’re embedding in another LMS, first invite your students by email.
Publish changes to your Workbook
Your workbook is automatically saved as you work, but changes won't be pushed live to students until you Publish them. This allows you to show changes to students once you're finished working.

